Clients increasingly expect to book the way they order food: from their phone, in under a minute, at whatever hour the thought strikes. Setting that up well takes an afternoon, and done right, it keeps working for you every day after. Here’s the complete walkthrough, tool-agnostic first, then how it maps to Scheduley.
Step 1: Define your bookable services
Before touching software, write down each service with three numbers:
- Name the client recognizes (“Men’s cut”, “Full highlights”, “AC tune-up”), not internal jargon
- True duration, including cleanup and turnover. The most common setup mistake is optimistic timing that stacks the day
- Price (or “from $X” for variable work). Listing prices reduces back-and-forth and pre-qualifies bookings
Also decide where each service happens: at your place, at the client’s (mobile), by phone, or over video. Modern platforms treat this per-service. See how Scheduley handles service locations and video appointments with automatic Google Meet links.
Step 2: Set availability that protects your day
- Working hours per day of the week, per staff member
- Buffer time between appointments if you need reset time (10–15 minutes is common)
- Lead time: how close to now someone can book. Same-day fills gaps; 2+ hours notice keeps you from being ambushed
- Booking window: how far ahead the calendar is open (30–60 days is typical)
These rules are the difference between online booking feeling like freedom and feeling like the internet runs your calendar. Full detail: booking rules that protect your schedule.
Step 3: Publish your booking page
Your booking page needs: services with prices, live availability, and a confirmation the client receives instantly. Nice-to-haves that earn their keep: your policies stated before checkout (grab our cancellation policy template), staff selection, and a design that doesn’t look like a spreadsheet. If you don’t have a website, platforms like Scheduley will generate a full site with booking built in. You can preview all 30+ templates live before you commit to anything.
Step 4: Put the link where clients already are
- Google Business Profile: the “book” button on your listing is often the highest-traffic spot you own
- Instagram bio + story highlight: for beauty businesses this is frequently #1
- Text signature: when someone texts “do you have anything Friday?”, the link answers it
- Facebook page, email signature, receipts
Step 5: Automate the follow-through
The setup pays off through what happens after the booking: instant confirmations, reminder texts at 24 hours and 2 hours (templates here), easy self-serve rescheduling, and a review invitation after a great visit. This layer is what turns online booking from a form into a front desk.
Step 6: Cover the clients who’d rather call
Here’s the part most guides skip: a large share of clients (often the older, higher-spending share) will still pick up the phone. A booking link doesn’t help them. This is where an AI receptionist completes the picture: it answers the call, quotes the same services and prices, and books into the same calendar as your page. Every channel, one schedule. That’s the whole idea behind AI scheduling.
Already have a booking system? Start with your existing menu
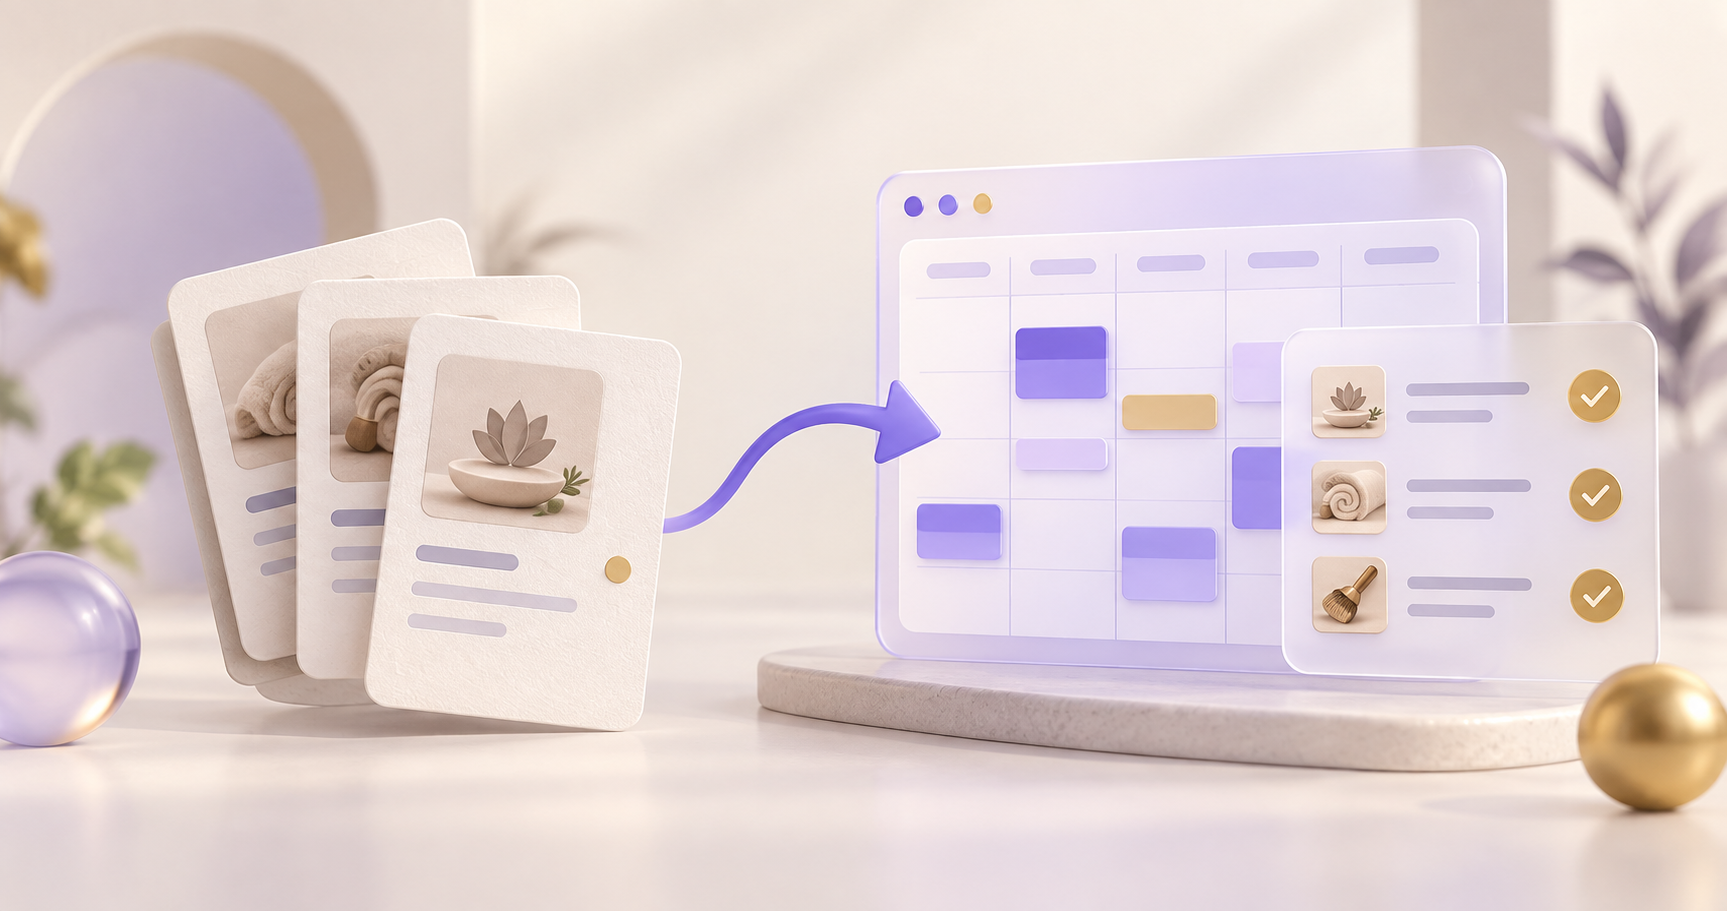
Bring your website and public booking link to your Scheduley walkthrough. During onboarding, you can scan both, review the services we find, and confirm names, categories, prices, and durations before saving. A separate booking link often contains details missing from your main website.
Dedicated menu readers are available for GoCheckin, Booksy, GlossGenius, and Goldie. Coming from Square, Vagaro, Fresha, Booker, Jobber, Housecall Pro, or another platform? Our team can help assess the setup path; automatic import varies by provider. Starting prices, quote-only services, and missing details need your confirmation.
You can keep your website and change its booking link when you’re ready. A website scan does not transfer your entire account or synchronize existing appointments. Use our migration guide to review what can be brought over and plan the switch with our team.
The 10-minute version with Scheduley
- Add business details, services, and hours (guide)
- Publish, and you get your booking link immediately (guide)
- Optionally turn on the AI Front Desk for calls and texts
- Reminders, confirmations, and review collection are on by default
Or start with the big picture: how Scheduley works in four steps. Start free with a business number, booking page, and basic appointments. AI usage is pay as you go; premium website templates and hosting are included in Premium for $29/month. See pricing for the current offer and usage rates.